Warhammer 40,000 · Kill Team · Ultramarines · Eliminator Squad
Eliminator Squad

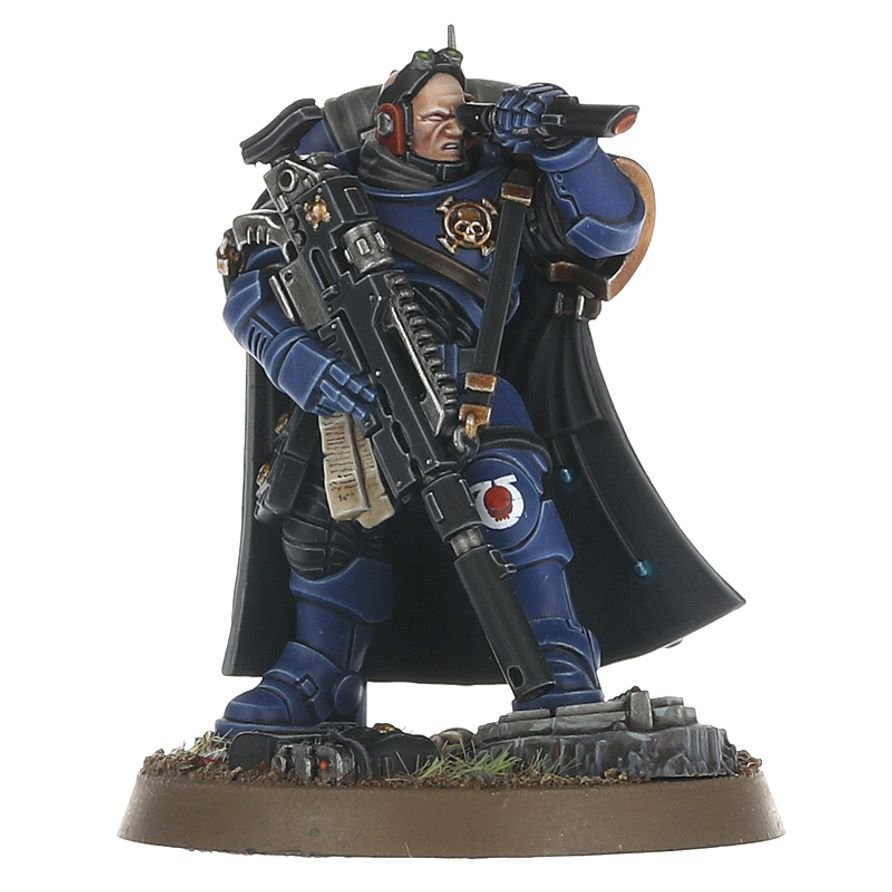
Prime
- 1Macragge Blue SpraySprayCitadel
I prime the model in Macragge as opposed to Black.
Armour
Armour
- 1Macragge BlueBaseCitadel
Base the entire model. You may have to do a few layers to get the desired coverage.
- 2Abaddon BlackBaseCitadel
Black out pieces of armour that will not be blue
- 3Kantor Blue + Abaddon Black2 paints
- Kantor Blue BaseCitadel× 2
- Abaddon Black BaseCitadel× 1
Begin shading the armour. Thin down heavily with water and paint into recess and panel lines. You can reapply Macragge Blue if you go over in any spots.
- 4Macragge Blue + Calgar Blue2 paints
- Macragge Blue BaseCitadel× 1
- Calgar Blue LayerCitadel× 1
Highlight a small bit out from the edges. Thin this down heavily also.
- 5Calgar BlueLayerCitadel
Fine edge highlight. Thin down heavily.
- 6Fenrisian GreyLayerCitadel
Selectively egde highlight. Thin down heavily.
- 7Blue HorrorLayerCitadel
Apply to the sharpest parts on the edges. Thin down heavily.
Gold Symbols
- 1Retributor ArmourBaseCitadel
This is also done on shoulder trims.
- 2Reikland FleshshadeShadeCitadel
Or:Gore-grunta FurContrastCitadel
Apply shade over gold details. Personally for this i prefer Reikland Fleshshade.
- 3Liberator Gold + Stormhost Silver2 paints
- Liberator Gold LayerCitadel× 1
- Stormhost Silver LayerCitadel× 1
I deviate from the video here and use the above mix to selectively highlight. This can be a slightly thicker highlight
- 4Stormhost SilverLayerCitadel
Finish with a few specular highlights
Undersuit
- 1DawnstoneLayerCitadel
Add fine edge highlights along all ridges
- 2Administratum GreyLayerCitadel
Add a very fine highlight
Lenses
- 1Mephiston RedBaseCitadel
Work down into the lower areas on the lenses. Water this down and apply a few times, purposely reapply heavier further down. Try to leave a small amount of black showing in the corner.
- 2Wild Rider RedLayerCitadel
Carefully blend this in to the lower ends of the lense.
- 3Fire Dragon BrightLayerCitadel
Highlight into the edge of the area previously highlighted. This focuses around the bottom area of the lense.
- 4Fire Dragon Bright + White Scar2 paints
- Fire Dragon Bright LayerCitadel× 1
- White Scar LayerCitadel× 1
Highlight the very edge bottom of the lense. For this step, apply only a small amount of White Scar.
- 5Khorne Red + Abaddon Black2 paints
- Khorne Red BaseCitadel× 1
- Abaddon Black BaseCitadel× 1
Glaze a tiny bit into the top of the lense to deepen the shading. Be sure to water this down so it flows into the edges of the lense.
- 6White ScarLayerCitadel
Add a dot to the very top edge of the lense.
Weapon
Metal
- 1LeadbelcherBaseCitadel
Or:Dark AluminiumVallejo
Basecoat the metal areas.
- 2Nuln OilShadeCitadel
Or:Basilicanum GreyContrastCitadel
- 3Stormhost SilverLayerCitadel
Or:SilverGame Color MetallicVallejo
Edge highlight and on circular parts run highlight down the center. Use this also to pick out any rivets on the model.
Weapon Casing
- 1Corvus BlackBaseCitadel
Apply this as a thick highlight around the weapons casing.
- 2Eshin Grey + Dawnstone2 paints
- Eshin Grey LayerCitadel× 1
- Dawnstone LayerCitadel× 1
Make this a very sharp edge highlight around the casing.
- 3Administratum GreyLayerCitadel
Finally, add the sharpest edge highlight. For this I just focus on edges.
- 4Grey SeerBaseCitadel
- 5Stormhost SilverLayerCitadel
Or:SilverGame Color MetallicVallejo
Pick out the rivets on the casing.
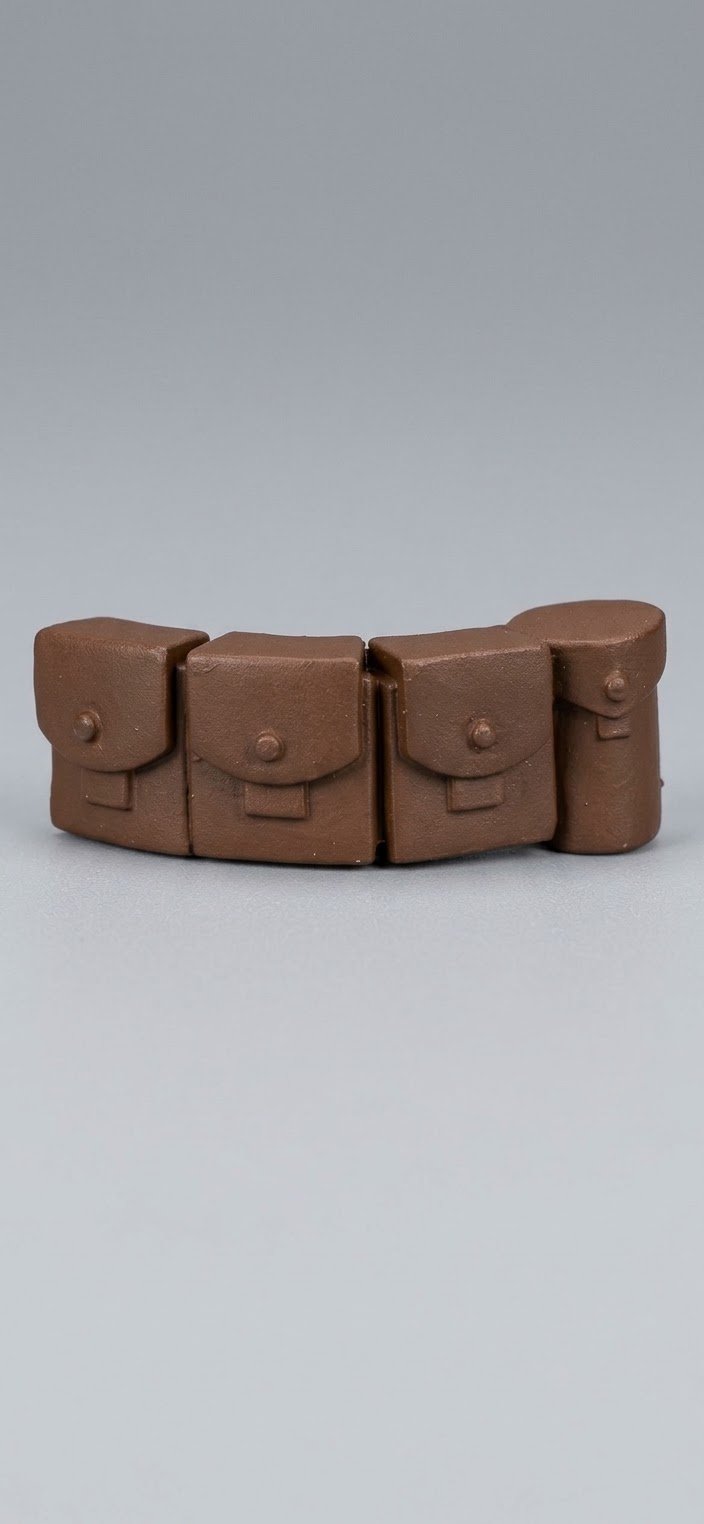
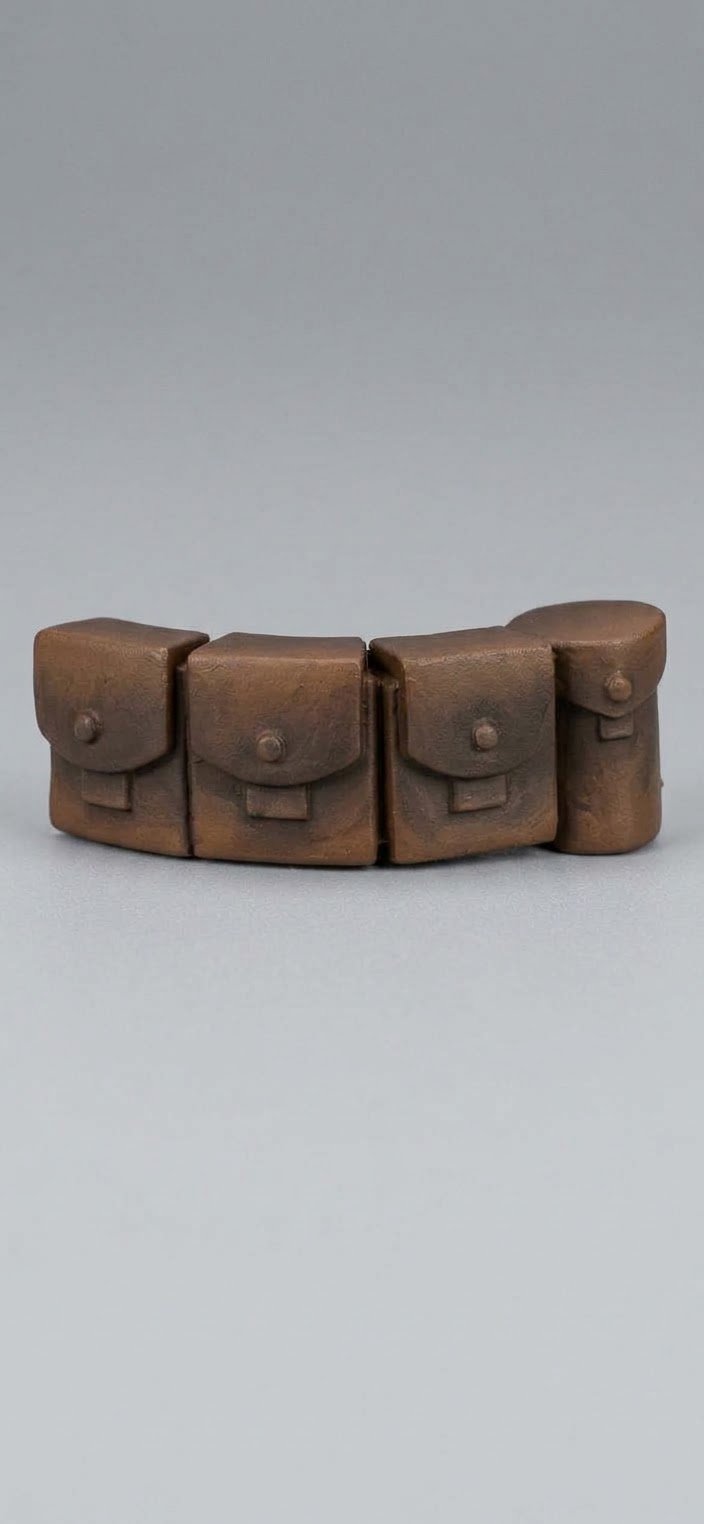
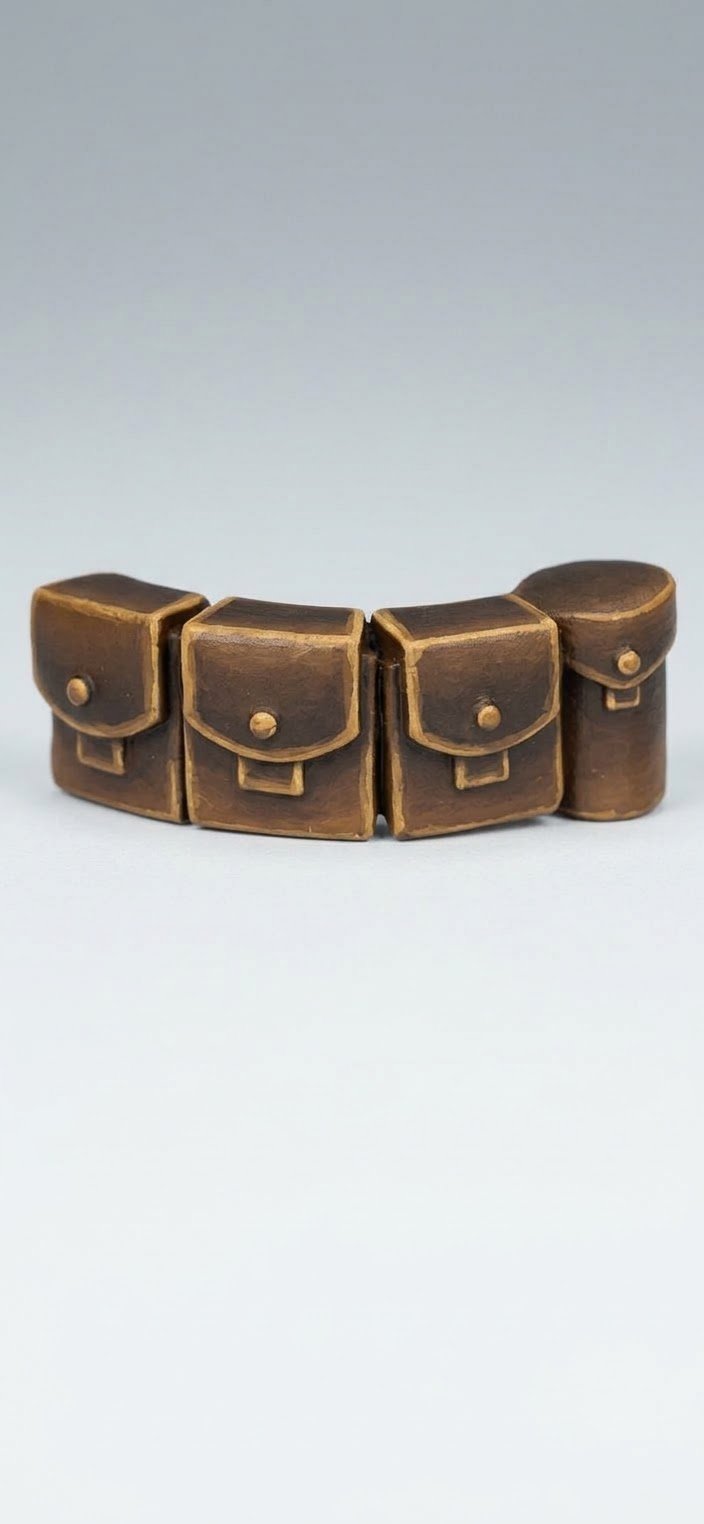
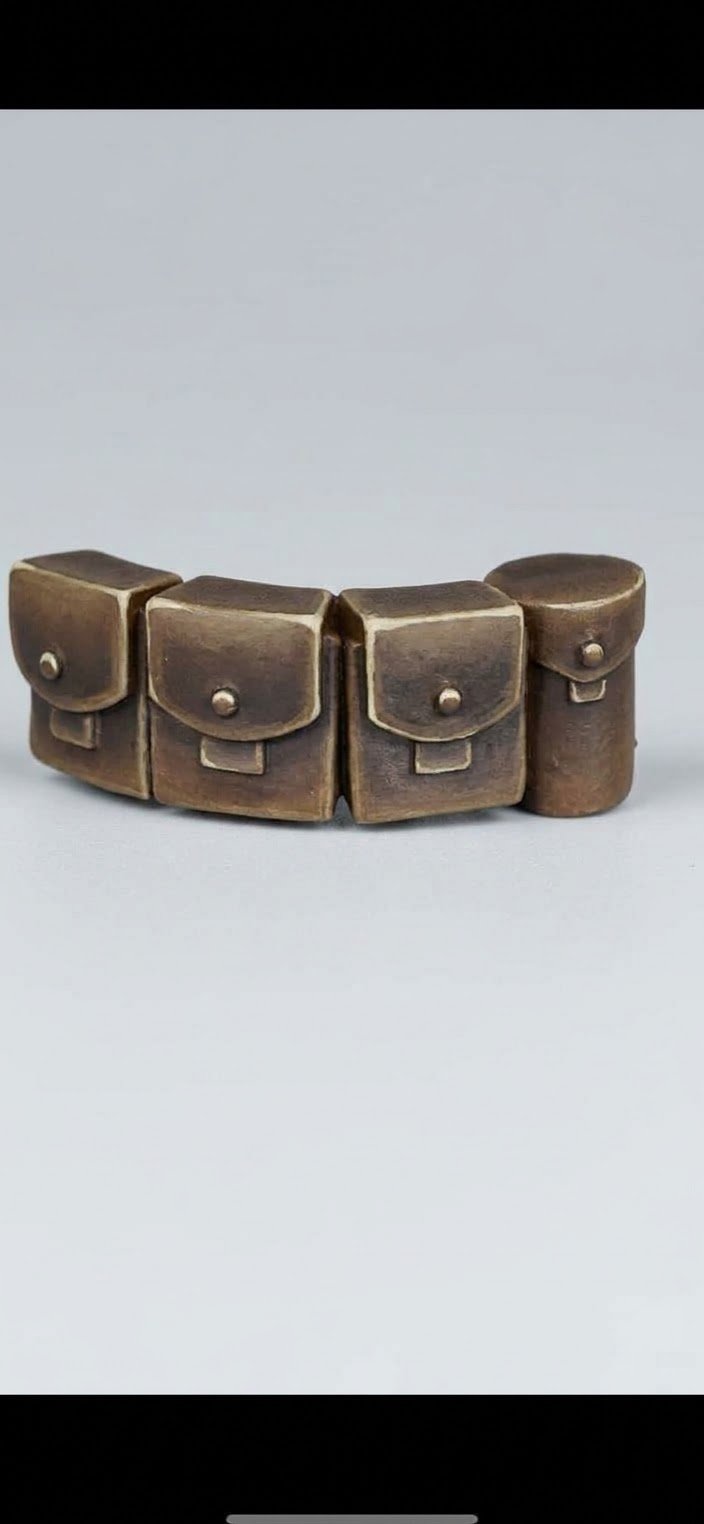
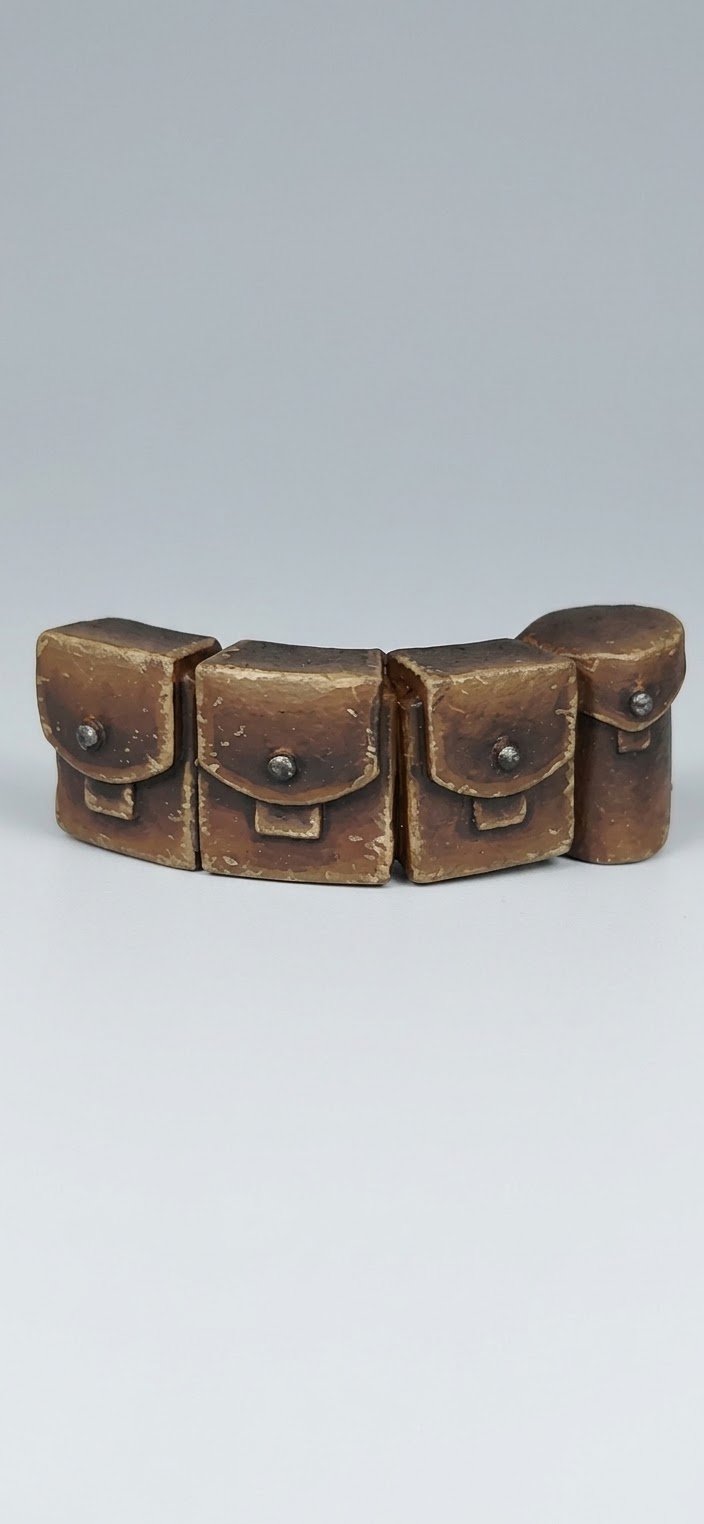
Leather
- 1Mournfang BrownBaseCitadel
Thin down slightly and basecoat the leather area. This will probably require two coats.
- 2Rhinox HideBaseCitadel
With glazed Rhinox Hide, push down towards the ends edges of the leather. If needs be, glaze a recoat of Mournfang Brown to transition.
- 3Mournfang BrownBaseCitadel
Add a thick highlight.
- 4Mournfang Brown + XV-882 paints
- Mournfang Brown BaseCitadel× 1
- XV-88 BaseCitadel× 1
Add a fine edge highlight over the areas that were previously highlight with just Mournfang Brown.
- 5XV-88 + Screaming Skull2 paints
- XV-88 BaseCitadel× 1
- Screaming Skull LayerCitadel× 1
This is for battle damage to the leather. Stipple this on where you want.
Parchment
- 1Ushabti BoneLayerCitadel
- 2Reikland FleshshadeShadeCitadel
- 3Rhinox HideBaseCitadel
Run a line of Rhinox Hide in areas where parchments meet.
- 4Ushabti BoneLayerCitadel
Do a tidy up with some more watered down Ushabti Bone.
- 5Screaming SkullLayerCitadel
- 6White ScarLayerCitadel
- 7Rhinox Hide + Abaddon Black2 paints
- Rhinox Hide BaseCitadel× 1
- Abaddon Black BaseCitadel× 1
With this mix, scribble on 'text'
Wax Seal
- 1Khorne Red + Screamer Pink2 paints
- Khorne Red BaseCitadel× 1
- Screamer Pink BaseCitadel× 1
- 2Druchii VioletShadeCitadel
- 3Screamer PinkBaseCitadel
- 4Pink HorrorLayerCitadel
What Eliminator Squad adds
Cloak
- 1Abaddon BlackBaseCitadel
Or:BlackGame ColorVallejo
- 2Stormvermin FurLayerCitadel
Or:German GreyModel ColorVallejo
Use this to create shapes on the cloak. Make sure to leave spacing between each shape. You can always go back with Abaddon Black to tidy up.
- 3Mechanicus Standard GreyBaseCitadel
Create more shapes. You can have overlaps if you want.
- 4DawnstoneLayerCitadel
Focus on filling the areas that are still black.
- 5Basecoat
Credit
Based on the work ofDusk Til Dawn Miniatures