 Chapter Colours
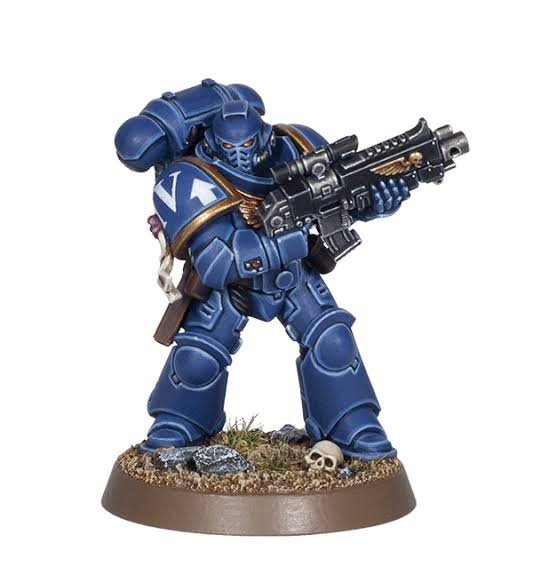

Warhammer 40,000 · Kill Team · Ultramarines · Intercessor Squad
Intercessor Squad
A classic Ultramarines paint scheme featuring rich blue armour, gold trim, and crisp highlights. Deep shading adds definition, while metallic weapons and clean detailing create a bold, cohesive look across the army.
Related versions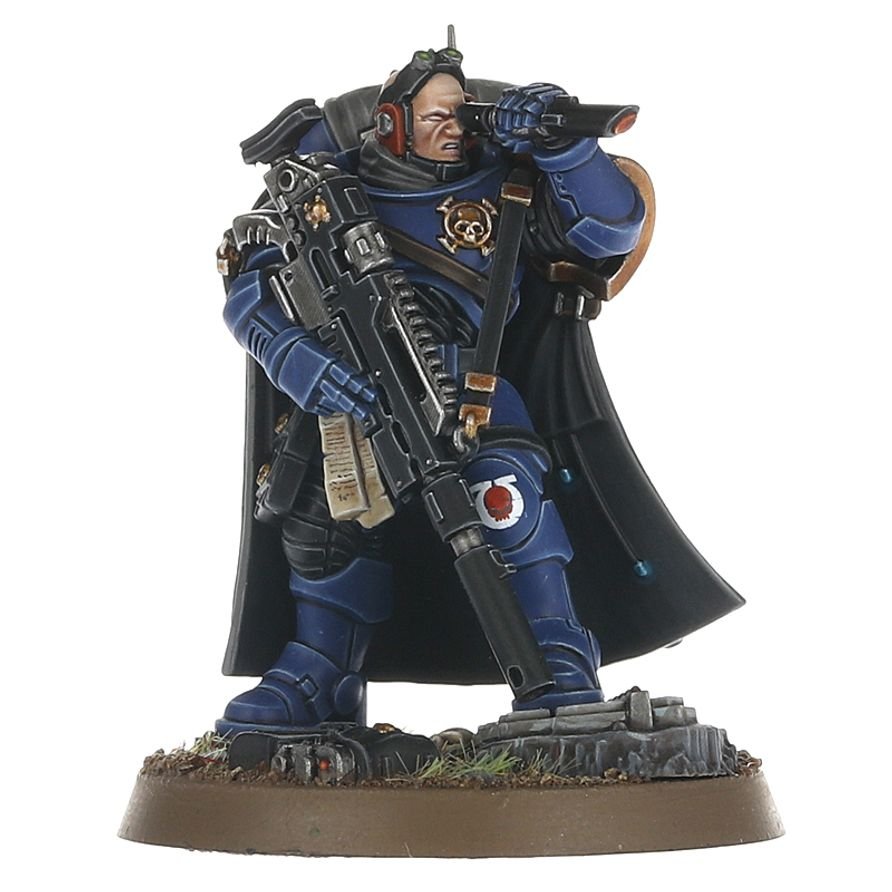
Prime Model
- 1
Macragge Blue SpraySpray
CitadelI prime the model in Macragge as opposed to Black.
Blue Armour
Painted with Ultramarines Armour
Armour guide · Advanced · 7 steps Video
- 1
Macragge BlueBase
CitadelBase the entire model. You may have to do a few layers to get the desired coverage.
- 2
Abaddon BlackBase
CitadelBlack out pieces of armour that will not be blue
- 3
Kantor Blue + Abaddon Black
2 paints- Kantor Blue BaseCitadel× 2
- Abaddon Black BaseCitadel× 1
Begin shading the armour. Thin down heavily with water and paint into recess and panel lines. You can reapply Macragge Blue if you go over in any spots.
- 4
Macragge Blue + Calgar Blue
2 paints- Macragge Blue BaseCitadel× 1
- Calgar Blue LayerCitadel× 1
Highlight a small bit out from the edges. Thin this down heavily also.
- 5
Calgar BlueLayer
CitadelFine edge highlight. Thin down heavily.
- 6
Fenrisian GreyLayer
CitadelSelectively egde highlight. Thin down heavily.
- 7
Blue HorrorLayer
CitadelApply to the sharpest parts on the edges. Thin down heavily.
Undersuit
- 1
DawnstoneLayer
CitadelAdd fine edge highlights along all ridges
- 2
Administratum GreyLayer
CitadelAdd a very fine highlight
- 3
White Scar + Administratum Grey
2 paints- White Scar LayerCitadel× 1
- Administratum Grey LayerCitadel× 1
Add very small selective highlights.
Gold
- 1
Retributor ArmourBase
CitadelThis is also done on shoulder trims.
- 2
Reikland FleshshadeShade
CitadelOr:Gore-grunta FurContrastCitadel
Apply shade over gold details. Personally for this i prefer Reikland Fleshshade.
- 3
Liberator Gold + Stormhost Silver
2 paints- Liberator Gold LayerCitadel× 1
- Stormhost Silver LayerCitadel× 1
I deviate from the video here and use the above mix to selectively highlight. This can be a slightly thicker highlight
- 4
Stormhost SilverLayer
CitadelFinish with a few specular highlights
Helmet or Bare Head
Lenses
- 1
Mephiston RedBase
CitadelWork down into the lower areas on the lenses. Water this down and apply a few times, purposely reapply heavier further down. Try to leave a small amount of black showing in the corner.
- 2
Wild Rider RedLayer
CitadelCarefully blend this in to the lower ends of the lense.
- 3
Fire Dragon BrightLayer
CitadelHighlight into the edge of the area previously highlighted. This focuses around the bottom area of the lense.
- 4
Fire Dragon Bright + White Scar
2 paints- Fire Dragon Bright LayerCitadel× 1
- White Scar LayerCitadel× 1
Highlight the very edge bottom of the lense. For this step, apply only a small amount of White Scar.
- 5
Khorne Red + Abaddon Black
2 paints- Khorne Red BaseCitadel× 1
- Abaddon Black BaseCitadel× 1
Glaze a tiny bit into the top of the lense to deepen the shading. Be sure to water this down so it flows into the edges of the lense.
- 6
White ScarLayer
CitadelAdd a dot to the very top edge of the lense.
Weapon Casing
- 1
Corvus BlackBase
CitadelApply this as a thick highlight around the weapons casing.
- 2
Eshin Grey + Dawnstone
2 paints- Eshin Grey LayerCitadel× 1
- Dawnstone LayerCitadel× 1
Make this a very sharp edge highlight around the casing.
- 3
Administratum GreyLayer
CitadelFinally, add the sharpest edge highlight. For this I just focus on edges.
- 4
Grey SeerBase
Citadel - 5
Stormhost SilverLayer
CitadelOr:SilverGame Color MetallicVallejo
Pick out the rivets on the casing.
Metal
- 1
LeadbelcherBase
CitadelOr:Dark AluminiumVallejo
Basecoat the metal areas.
- 2
Nuln OilShade
CitadelOr:Basilicanum GreyContrastCitadel
- 3
Stormhost SilverLayer
CitadelOr:SilverGame Color MetallicVallejo
Edge highlight and on circular parts run highlight down the center. Use this also to pick out any rivets on the model.
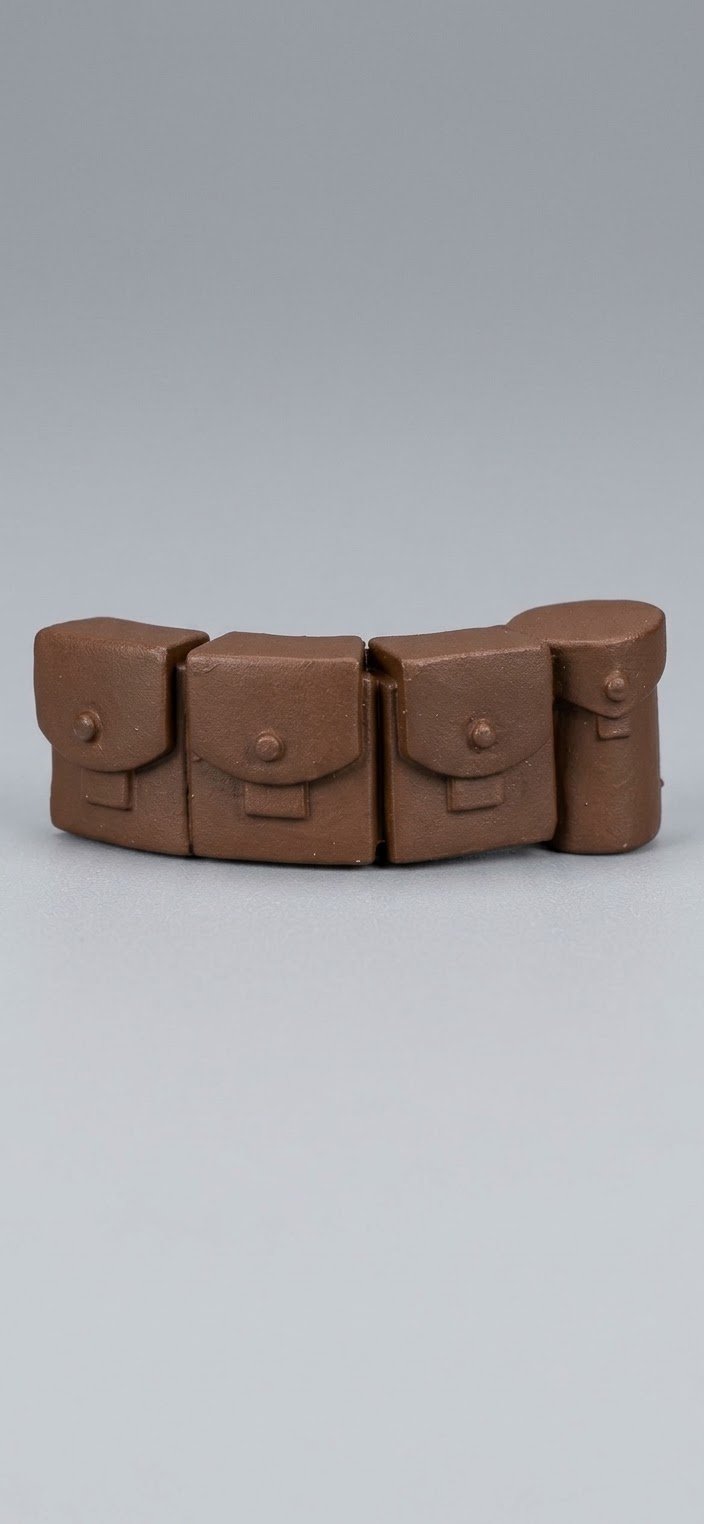
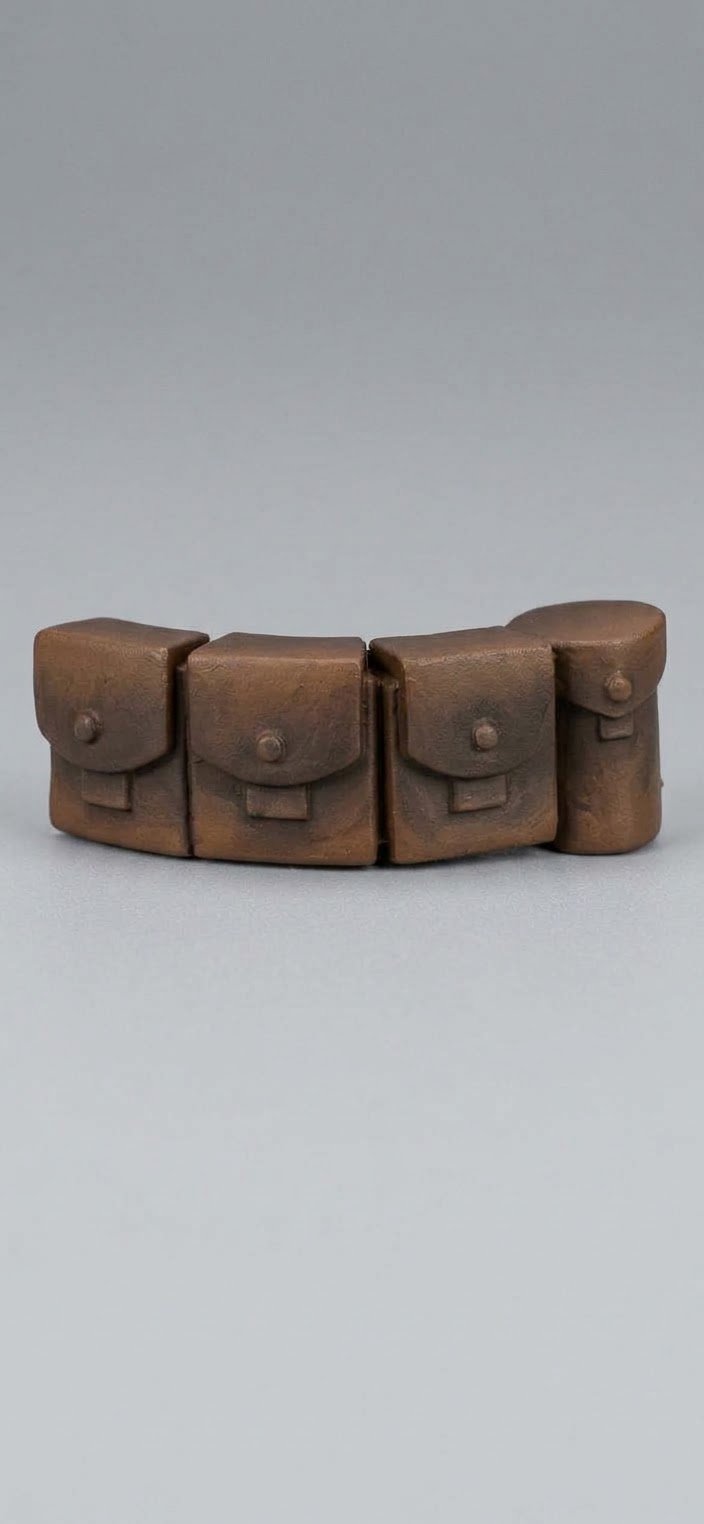
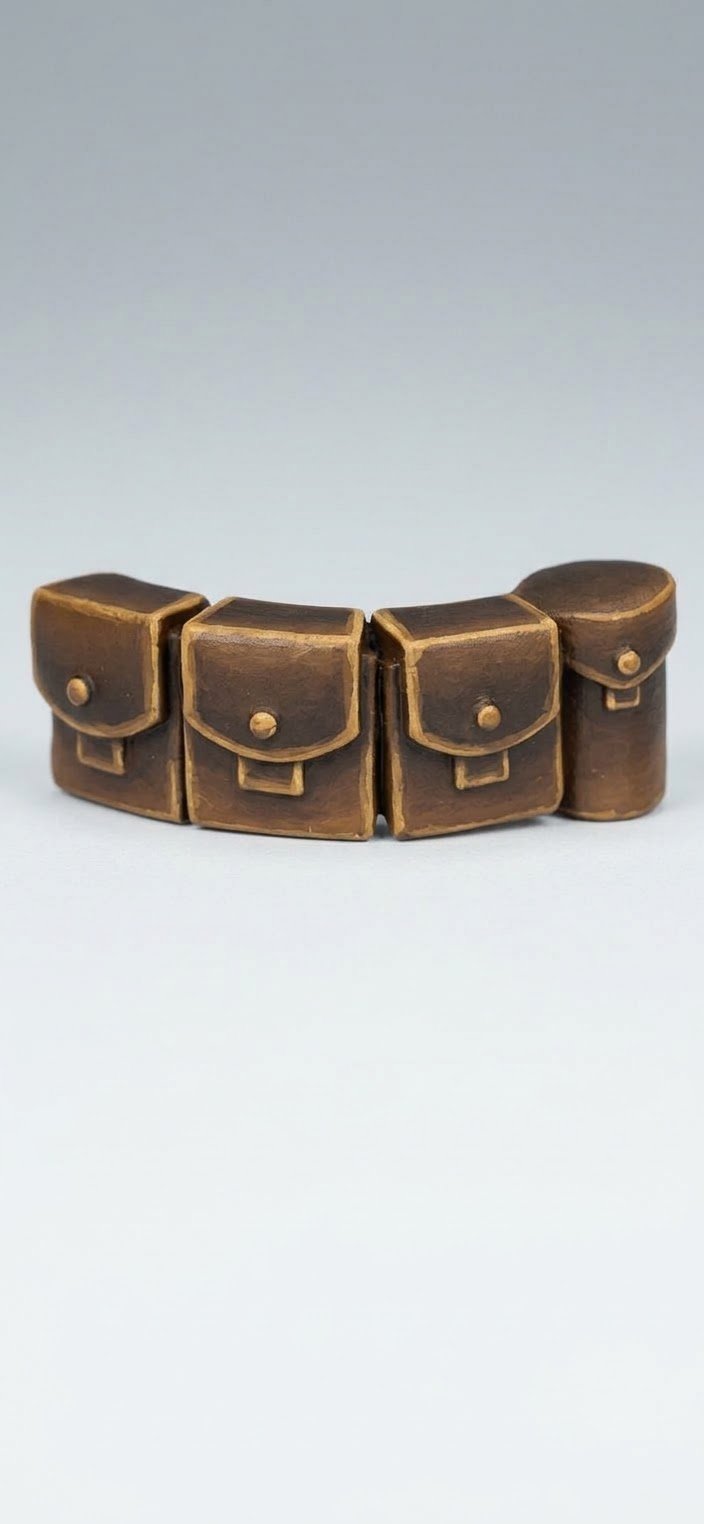
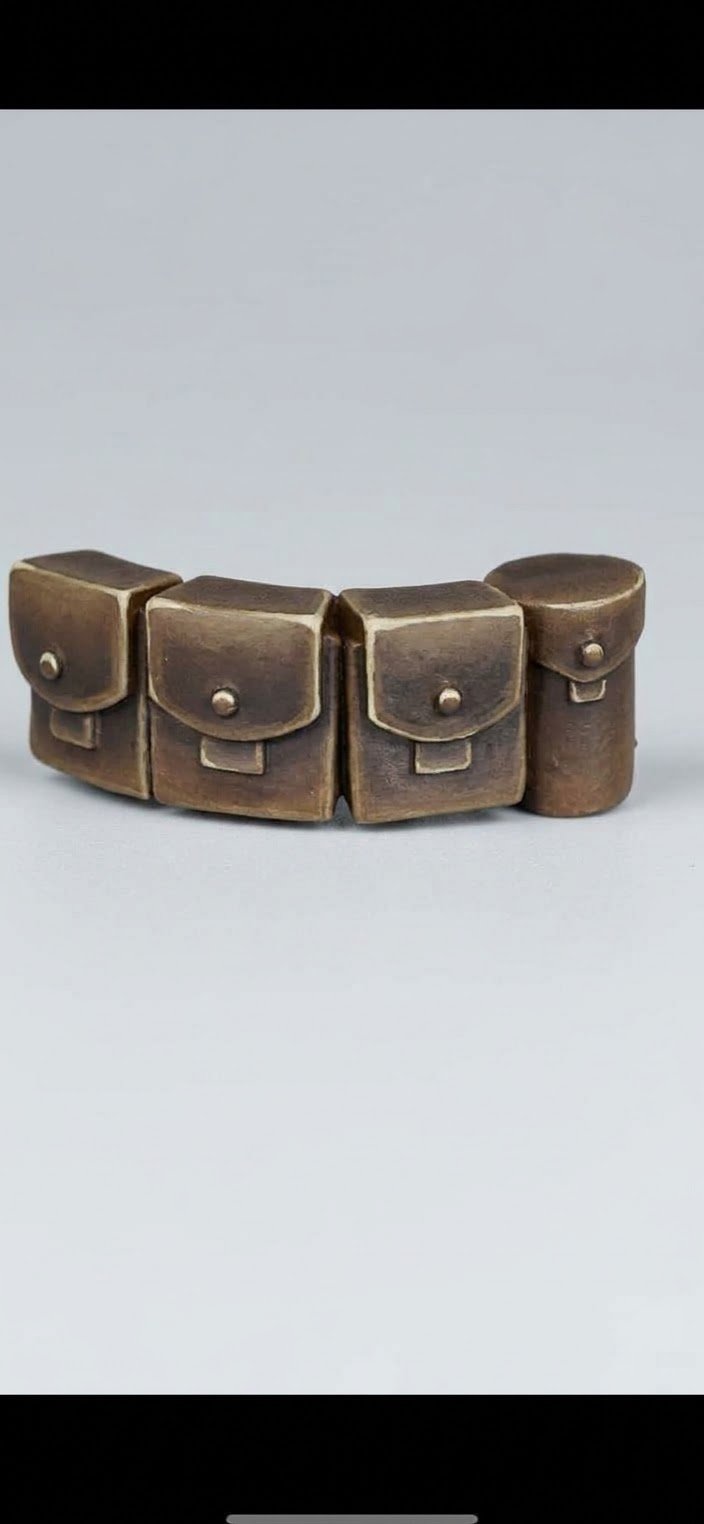
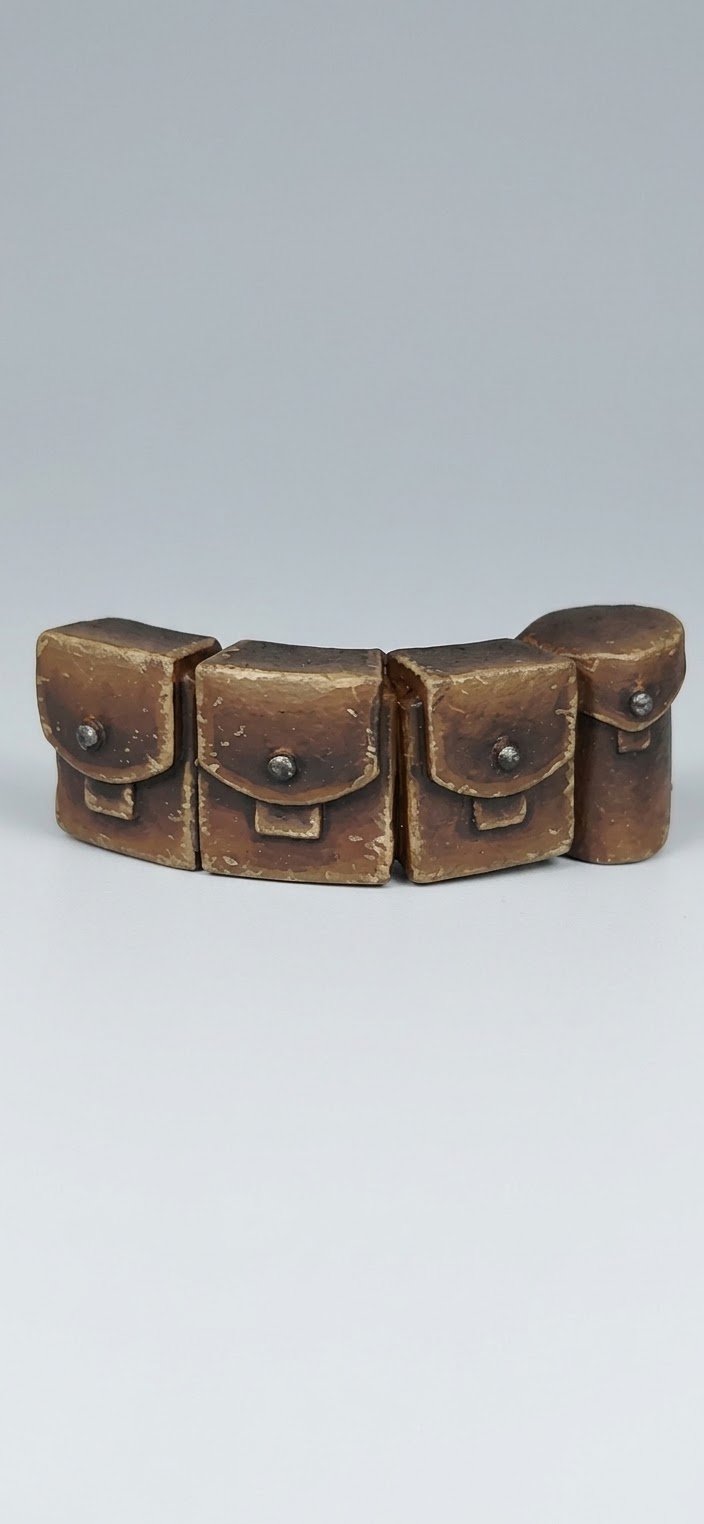
Leather
- 1
Mournfang BrownBase
CitadelThin down slightly and basecoat the leather area. This will probably require two coats.
- 2
Rhinox HideBase
CitadelWith glazed Rhinox Hide, push down towards the ends edges of the leather. If needs be, glaze a recoat of Mournfang Brown to transition.
- 3
Mournfang BrownBase
CitadelAdd a thick highlight.
- 4
Mournfang Brown + XV-88
2 paints- Mournfang Brown BaseCitadel× 1
- XV-88 BaseCitadel× 1
Add a fine edge highlight over the areas that were previously highlight with just Mournfang Brown.
- 5
XV-88 + Screaming Skull
2 paints- XV-88 BaseCitadel× 1
- Screaming Skull LayerCitadel× 1
This is for battle damage to the leather. Stipple this on where you want.
Parchment
- 1
Ushabti BoneLayer
Citadel - 2
Reikland FleshshadeShade
Citadel - 3
Rhinox HideBase
CitadelRun a line of Rhinox Hide in areas where parchments meet.
- 4
Ushabti BoneLayer
CitadelDo a tidy up with some more watered down Ushabti Bone.
- 5
Screaming SkullLayer
Citadel - 6
White ScarLayer
Citadel - 7
Rhinox Hide + Abaddon Black
2 paints- Rhinox Hide BaseCitadel× 1
- Abaddon Black BaseCitadel× 1
With this mix, scribble on 'text'
Wax Seal
- 1
Khorne Red + Screamer Pink
2 paints- Khorne Red BaseCitadel× 1
- Screamer Pink BaseCitadel× 1
- 2
Druchii VioletShade
Citadel - 3
Screamer PinkBase
Citadel - 4
Pink HorrorLayer
Citadel
Battle Damage on Armour Optional
Painted with Battle Damage on Armour
Weathering guide · Intermediate · 3 steps Video
- 1
Rhinox HideBase
CitadelOr:Cuirass LeatherShadowTwo Thin Coats
Sponge on the chipping as desired. You can use a brush also to paint on some scratches if you want.
- 2
Your choice
Pick a colour to suit your modelThis step then depends completely on the colour of the model. You want to use the highest highlight level and draw a line underneath the chipping.
- 3
Your choice
Pick a colour to suit your modelIf you have any decals, you can chip into it and scratch across the decal. Again, the paint for this step depends completely on the colouring on the model. Use whatever colour you used around the decal.
Credit
Based on the work ofInfernalBrush